
Measuring windows for plantation shutters accurately ensures a perfect fit and professional appearance for your interior shutters. This comprehensive measurement guide takes 30 to 45 minutes per window and requires only basic DIY skills. Accurate window dimensions are essential because custom shutters are manufactured precisely to your specifications, making proper measuring technique critical for successful shutter installation.
According to industry standards from professional installers, measurement accuracy within 1/8 inch ensures optimal shutter fit and operation. This step-by-step measurement tutorial covers all three mounting options—inside mount, outside mount, and face mount—plus specialty window configurations including bay window, arched window, and transom window applications.
Before You Begin: Essential Prerequisites
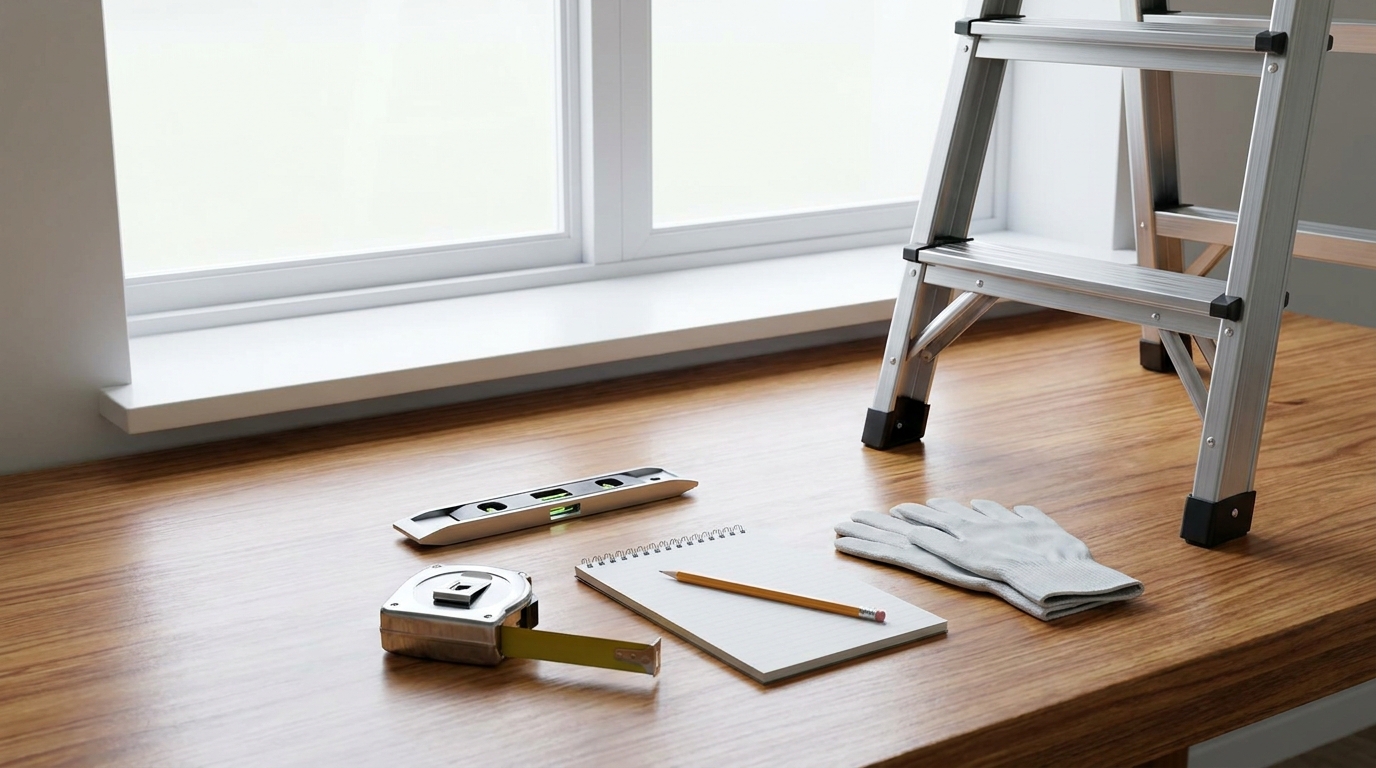
- Steel tape measure (25-foot minimum) or laser measure for precise dimensions
- Digital measuring tool or calculator for measurement calculation
- Notepad, pencil, and measurement worksheet for recording measurements
- Stepladder for accessing tall window openings
- Flashlight for inspecting window depth and jamb depth
Ideal Conditions:
- Clear access to all window frame surfaces and mounting surfaces
- Good lighting for accurate window covering measurements
- Clean window sill and window recess areas
- All window treatments removed from the window opening
Understanding Mounting Options for Plantation Shutters
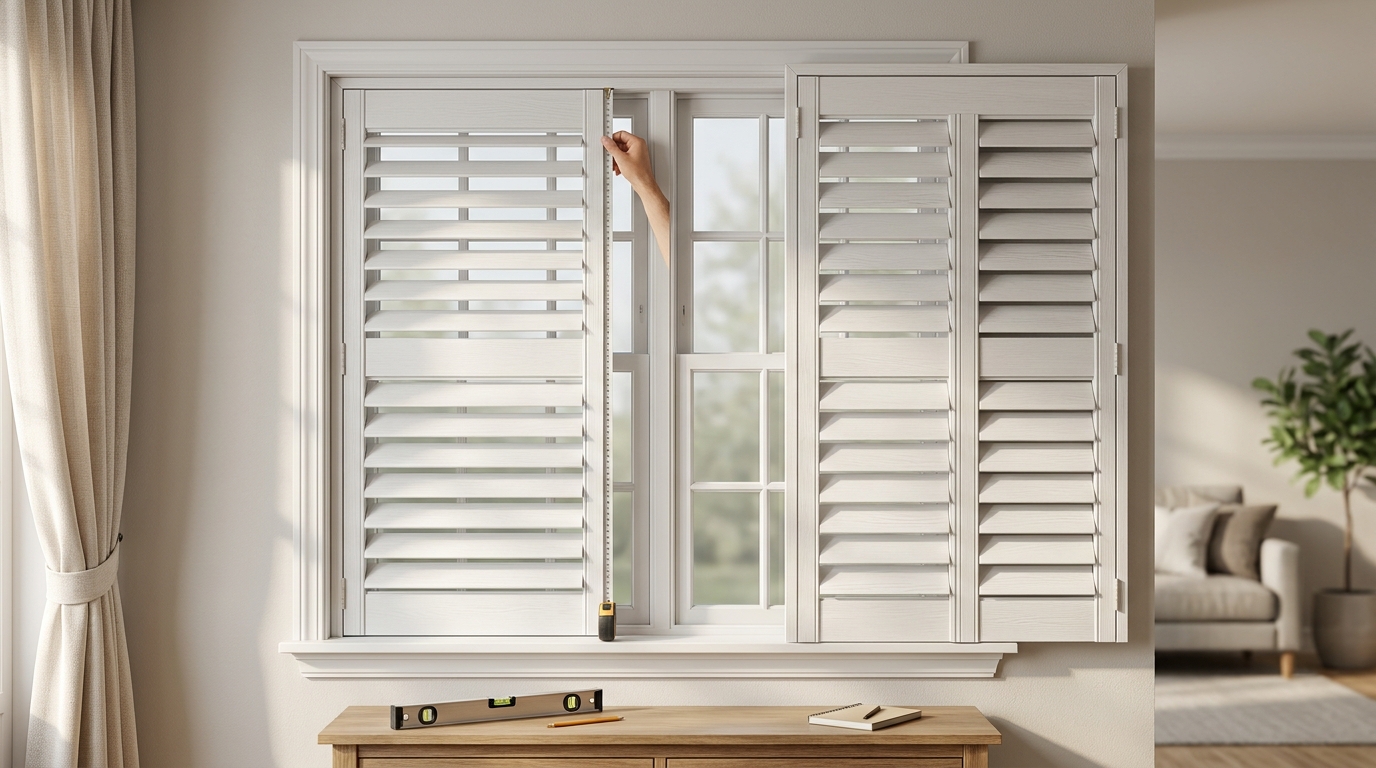
Before measuring window width and window height, determine your preferred shutter mounting options. The mounting type directly affects your measuring for blinds technique and final shutter frame dimensions.
Inside Mount (Recess Mount Shutters)
Inside mount shutters install within the window recess, creating a clean, built-in appearance. Recess measurement requires sufficient window frame depth (minimum 2.5 inches for standard shutter panels) and a square, obstruction-free window opening. This mounting surface provides the most traditional plantation shutter aesthetic and maximizes natural light control.
Outside Mount (Face Mount)
Outside mount measurement positions shutter frames on the wall surface surrounding the window casing or architrave. Face mounted plantation shutters work for shallow window frames, uneven window openings, or when covering trim work. Surface mount shutters extend beyond the frame measurement, providing complete light blockage and privacy.
Reveal Mount Considerations
A reveal mount combines inside mount and outside mount principles, positioning the shutter frame partially within the window recess. This approach accommodates window handles, window locks, or molding that prevent full inside mount installation while maintaining a relatively flush appearance.
Complete Measuring Tools Checklist
Professional measuring service providers use these tools for custom shutter fit accuracy:
| Tool | Purpose | Accuracy Level |
|---|---|---|
| Steel tape measure | Manual measuring of width and height dimensions | ±1/16 inch |
| Laser measure | Digital measurement for large windows | ±1/32 inch |
| Level or square | Checking window frame squareness | Essential for proper fit |
| Measurement worksheet | Organized recording measurements | Prevents errors |
Step-by-Step Guide: How to Measure Windows for Plantation Shutters
Step 1: Prepare the Window and Measurement Workspace (5 minutes)
Remove all existing window treatments, curtains, or blinds from the window opening. Clean the window sill, window recess, and mounting surface to clearly see all frame dimensions. Verify accessibility to the entire window frame including the top reveal and side jambs. Clear the area around the window for safe ladder placement when measuring tall windows.
Step 2: Determine and Mark Measurement Points (3 minutes)
The three point measuring method ensures accurate measurements for shutter sizing even when window frames are not perfectly square. Mark three measurement locations: top (near the head jamb), middle (window center), and bottom (near the sill). This measurement best practices approach accounts for settling, warping, or construction variations in the window opening dimensions.
Step 3: Measure Window Width at Three Points (8-10 minutes)
For inside mount measurement, measure the exact width of the window recess at all three marked points. Record each width measurement to the nearest 1/8 inch. Apply the smallest measurement rule: use the narrowest of the three measurements as your official width dimension. This measurement accuracy tips ensures shutter panels fit without binding.
According to shutter manufacturer specifications, typical deduction calculations subtract 1/4 inch from the smallest width measurement for installation brackets and clearance allowances. For example, if your three measurements are 36 1/8 inches, 36 inches, and 36 1/4 inches, use 36 inches minus 1/4 inch, yielding an order width of 35 3/4 inches.
For outside mount measurements, measure the desired coverage area including the window casing and any adjacent wall space. Add 2 to 4 inches beyond each side of the window frame for adequate light blockage and architectural coverage.
Step 4: Measure Window Height at Three Points (8-10 minutes)
Measure window height using the same three-point method: left side, center, and right side of the window opening. For inside mount, measure from the top of the window recess (head jamb) to the window sill or bottom jamb. Record all three height measurements.
Use the smallest of the three height measurements and subtract the manufacturer’s specified deduction (typically 1/4 inch for top and bottom clearance). If measuring for recess mounted plantation shutters with a protruding sill, measure to the sill projection measurement point, not to the wall below.
When measuring windows for shutters with an outside mount, measure from above the window opening to below the desired coverage point, adding 2 to 4 inches at top and bottom for complete coverage.
Step 5: Check Window Depth and Jamb Depth (5-7 minutes)
Minimum depth required for inside mount plantation shutters is typically 2.5 inches, though this varies by louver size and shutter frame design. Measure the window depth from the front edge of the window frame to any obstruction (window glass, sash, or mullion).
Check depth at multiple points because older window frames may have irregular depths. Measure both the front-to-back depth and side-to-side jamb depth. Insufficient depth measurements indicate outside mount is the appropriate shutter mounting option.
Step 6: Perform Obstruction Check (5-8 minutes)
Identify all protrusions that might interfere with shutter operation including window handles, window locks, crank mechanisms, trim work, and molding. Measure handle protrusion check distances: the distance each obstruction extends into the window opening.
For lock interference check, open and close all locking mechanisms to verify clearance. Casement windows require crank clearance measurement when the handle is fully extended. Document these obstructions on your measurement worksheet with their exact locations and protrusion depths.
Step 7: Record and Verify All Measurements (5 minutes)
Complete your measurement worksheet with all window opening dimensions, noting which measurements represent width (W), height (H), and depth (D). Include the window location (e.g., “Master Bedroom, North Wall, Left Window”). Double-checking dimensions prevents costly custom shutter errors.
Record whether each window uses inside mount or outside mount. Note any specialty features such as arched tops, bay window angles, or split tilt option requirements. For panel division planning, indicate preferred divider rail placement based on window proportions.
Measuring Specialty Windows for Plantation Shutters
Measuring Bay Windows for Plantation Shutters
Bay windows require individual measurement of each window section plus the angles between sections. Measure each bay window panel using the standard three-point method. Calculate the angle between panels using a digital angle finder or by measuring the wall-to-wall distance and comparing it to the sum of individual window widths.
Measuring Arched Windows for Plantation Shutters
Arched window measurements require both rectangular lower section dimensions and arch specifications. Measure the straight portion using standard width and height methods. For the arch, measure the radius from the spring point (where the arch begins) to the apex (highest point). Provide the arch width at its widest point.
Bow Window and Transom Window Considerations
Bow windows feature gentler curves than bay windows, requiring measurements at each window section plus the overall curve radius. Transom window measurements include both the main window and the upper transom section, noting whether they require separate shutter panels or a unified installation.
Common Measurement Mistakes and Troubleshooting
If Your Three Measurements Vary by More Than 1/4 Inch
Measurement errors often result from inconsistent measurement points or tape measure sag. Remeasure at the exact same points, keeping the measuring tape taut and level. For window measurement mistakes exceeding 1/4 inch variation, consider professional measurement service to verify the window opening is suitable for inside mount installation.
If You Find Insufficient Depth for Inside Mount
When window frame depth is less than 2.5 inches, switch to outside mount measurement. Measure 2 to 4 inches beyond the window casing on all sides. This shutter configuration planning ensures proper louver operation and complete light control despite shallow recess depth.
If Window Handles or Locks Protrude Excessively
Hardware obstructions exceeding 1 inch may require outside mount, extended frame depth, or specialized shutter frame configurations. Measure the exact protrusion and consult with the shutter manufacturer about available solutions such as handle cut-outs or modified mounting brackets.
If Windows Are Severely Out of Square
Use the smallest measurement rule for both width and height. Variations exceeding 3/8 inch may indicate structural issues requiring correction before DIY shutter installation. Expert measurement from a professional installer can determine if custom-angled frames compensate for out-of-square windows.
Deduction Calculations and Clearance Allowances
Proper fit guidelines require specific deductions from your recorded measurements to ensure shutters operate smoothly. Standard deduction calculations for inside mount include:
- Width deductions: Subtract 1/4 inch (1/8 inch per side) for installation clearance
- Height deductions: Subtract 1/4 inch (1/8 inch top and bottom) for vertical movement
- Depth allowances: Minimum 2.5 inches for standard frames; 3 inches for bypass shutters
- Hardware clearances: Add 1/2 inch beyond the deepest obstruction
Outside mount shutters do not require deductions; instead, add overlap dimensions for light blockage. Typical additions range from 2 to 4 inches per side, depending on window trim considerations and architectural style preferences.
Measurement Worksheet Completion Best Practices
Organized recording measurements prevents ordering errors. A comprehensive measurement worksheet should include:
- Window location and identification number
- Three width measurements (top, middle, bottom) with smallest noted
- Three height measurements (left, center, right) with smallest noted
- Depth measurement at multiple points
- Mounting type selection (inside, outside, or reveal)
- Obstruction locations and measurements
- Louver size preference and shutter panel configuration
- Split tilt option or unified tilt rod selection
- Final order dimensions after deductions
Photography supplements written measurements. Take photos of each window showing the full frame, close-ups of obstructions, and the measuring tape in position for key dimensions. These images provide valuable reference when reviewing your order with the shutter manufacturer.
Next Steps After Measuring Multiple Windows
After completing self-measurement for all windows, verify your measurements meet shutter fit guidelines. Many companies offer free measure service or in-home measurement appointments where professional installers double-check your dimensions before manufacturing begins.
Submit your measurements to receive a custom shutter quote. Reputable companies provide sizing calculators or online measuring tools to verify your dimensions align with their manufacturing capabilities. Some offer measurement apps that guide the precise dimensions process with visual aids.
Consider requesting samples of different louver sizes, panel configurations, and finish options. Made-to-measure shutters represent a significant home improvement investment, making the measurement accuracy and product selection critical to achieving perfect fit and exact fit results.
For complex window configurations, virtual measurement or remote measurement consultations help confirm your measuring technique before placing orders. Expert measurement professionals can identify potential issues and recommend optimal panel division, divider rail placement, and mounting strategies for your specific windows.
Schedule your DIY shutter installation or professional installation based on typical manufacturing timeframes of 4 to 8 weeks for bespoke shutters. Proper measuring windows preparation ensures your tailored shutters arrive ready for seamless installation and years of beautiful, functional window treatment performance.

If you're wondering what window treatments add value to your home, plantation shutters are one of the best and most Read more

Plantation shutters are a popular window treatment, and it's no wonder. They're beautiful and provide many benefits. Keep your home Read more

Some things were made for each other: peanut butter and jelly, chocolate and caramel, plantation shutters and curtains. The trick Read more